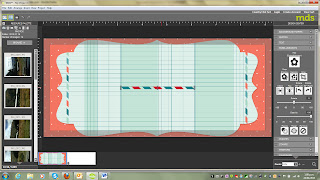
In the last post I talked about getting a paper background and then
inserting a punch & how to manipulate patterned paper inside the
punch. Now I want to add some embellishments.
I wanted to have a ribbon running across the page so I went to my Design
Centre & clicked on the embellishments tab. Then I clicked on add
embellishment. Immediately a list of different embellishments came up
including the Designer kits. Again under designer kits there is a huge
number of embellishments including the ones I wanted from the Sent with
Love
kit. I wanted to use Sent with Love tape 1. I click on it & then
click "apply". This has put the tape on the middle of my project.
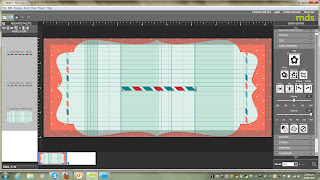
The first thing I noticed is that it doesn't reach all the way across
the project, it's too short. I really like the proportions it has &
the thickness of this tape, so clicking & dragging a corner isn't
going to work to make it go across the page. It gets made a lot thicker
that I want.
The other way I could make it bigger is to just click on the ends &
pull them out. Unfortunately that changes the look of the tape as well,
and it's not the look that I want.
To create the look I want I copied the tape & then pasted it on the
end of the existing tape. Something that I found out when I first
copied the tape, was that the copy will be sitting almost directly over
top of the existing tape unless you have moved the original tape over to
the side a bit. It seems that the default position for MDS when adding
elements, stamps, embellishments to a project, is to land it in the
middle of the project. So when I first copied & pasted my tape I
thought I couldn't find it, but it is there, sitting almost on top of
the tape that I had copied.
Something else I found out is the layers button becomes useful in
situations like this. You will find the layers button on the left hand
side of the MDS screen, under the words "resource pallet". There are 7
buttons that you can click on up there & one of them (that has an
icon that looks like a stack of 3 papers) is the layers button. If you
click on it, it will bring up the layers that are in your project. The
very top layer is the layer that is the top layer of your project &
if you have just copied & pasted it will be the element that you
copied & pasted.
If you double click on a layer in the page layers pallet you will find
that MDS automatically puts the outline around the layer you double
clicked on. That makes it even easier to find your layer on your
project & from there it can be moved.
So my top layer is one of my tapes. I select it by double clicking on
the layer in the page layers pallet & then as it is selected I can
go to it on my project, click on it & holding the mouse button down,
drag it to the end of my other tape. I don't want the tape to be blops
of Island Indigo side by side so I move it so that one
Island
Indigo blop is lying on top of the other. I use the "zoom" button on the
bottom right of my screen to enlarge the view of the area I am dealing
with to get the two pieces to line up as closely as possible. To make
small movements I use my arrow keys to move the object in which ever way
the arrow key points.
To make the tape go across the project I repeat the copy & paste
process until I have a tape that runs across the whole project.
Now to keep all these tapes in place & so that I can move them about
the layout as one whole item I need to "group" them together. To do
that I click on one of the tapes, then hold the "ctrl" key down
continuously while clicking on each of the other tapes. So I end up with
a tape with a lot of boxes along each side of it.
Then left click & move down to "group" & then right click on "group" .
The layers pallet will look like only two items, the punch & then
the other layer is called "grouped objects." If there are more layers
& they are the decorative tape, just click on one of the tapes &
do the control click on the others & group them together.
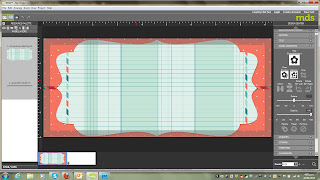
Now I have a nice tape runnning across the decorative punch, which I
really want to run under the punch. To do that I go to the page layers
pallet on the left hand side of the page, right click on my grouped
objects (the tape) & then drag it down to below my decorative punch.
Now I have the tape underneath the punch.
That tape doesn't really show against the background so the next thing
to do is to create a nice white box that it can sit on. That will be
covered in the next tutorial.


No comments:
Post a Comment